More accuracy for Cirteq with OGP
08.06.2023
Over the past eight decades, from its factory in Keighley, West Yorkshire, it has established a reputation as a leading international circlip and retaining ring specialist, exporting all around the world to more than 500 customers, four in five of which are in the automotive industry.
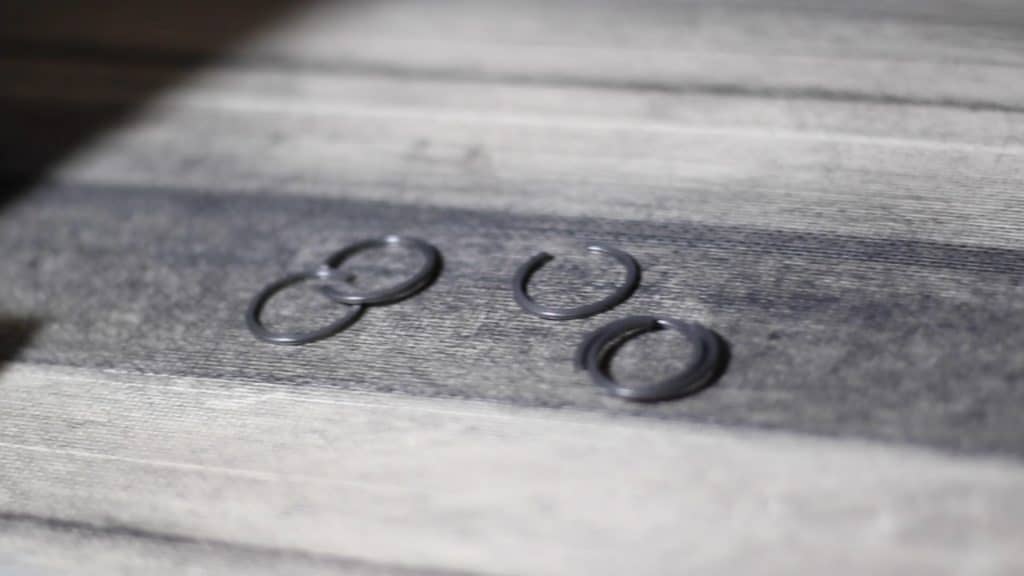
Its spring rings are used to stop something coming out of a bore or to keep something on a shaft, and it makes some 700 million (around 4,000 tonnes) of them annually by stamping and heating spring steel.
To ensure that its 3,800 product variants meet exacting demands for assembly, Cirteq – part of the Titgemeyer Group – works directly with some of the biggest names across the global aerospace, automotive, rail and sustainable energy sectors.
It counts Jaguar Land Rover, Volvo, JCB, Honda, Volkswagen, Renault, Nissan, BMW, Peugeot, Citroen, GKN, Bosch, Siemens and Mitsubishi among them.
It is a company whose services are in high demand,whose parts are critical to engine construction and which increasingly must ensure that its quality control processes meet the incredibly high expectations of its customers.

To help drive forward that side of the business and eliminate errors, Cirteq’s management team began looking at innovations in measurement technology and discovered OGP, a specialist in multi-sensor metrology.
Cirteq with OGP utilised a combination of world-leading optical, laser and tactile sensors, eliminating the need for multiple specialised measuring systems and collecting highly accurate data even on the most complex components and features, with speed and reliability.
Cirteq Customer Quality Liaison Manager Theo Speller has a clear message for other UK businesses making precision components.
“I’d say that it’s time to take the plunge and get invested in vision systems, because you need to match your inspection methods with the inspection methods of your end users,” he said.
“We went out into the market to look for a machine that could do everything that we needed – it needed to do 3D Renishaw probing and also capture the 2D features.”
“The machine that we found through OGP was the ZIP LITE 300. It has a 300 mm table and can capture most of our products in the factory, with the Renishaw probing capability to help us build 3D models and capture every dimension our customers require.”
OGP systems work to sub-micron precision, making them right at home in an era of miniaturisation where new material developments and ever-tighter tolerances have made components increasingly challenging to manufacture.
By making more accurate data available to production engineers in real time, OGP solutions empower them to identify and rectify quality control flaws on the spot, leading to less scrap, fewer production bottlenecks and higher productivity.
Mr Speller (pictured above) said: “If you go to a robot line you’ll see a camera over the top of it photographing every component and sub-assembly to make sure that it meets all requirements. We have to match that by making sure that our components are right 100 per cent of the time. Our expectations are to drive towards zero PPM.“
“We were not getting the repeatability that we needed from manual measurements due to operator bias. That’s the main advantage of this OGP machine – we’ve improved the quality and the accuracy of the measurements and the bonus is we’ve actually managed to do it and save time.“
“The cycle time that it takes to inspect has been slashed because the machine allows us to do it offline and it can do all those features that you see on a complicated component.“
“We have to demonstrate the repeatability of the equipment that we use to the automotive customers and with the OGP machine we get that repeatability.“
“In the last year we haven’t seen any measurement errors as a result.”
By offering installation, calibration, fixturing solutions, programme creation, applications support and tailored training packages to all customers, OGP UK’s turnkey packages are designed to ensure project set-ups are seamless, so that users will start reaping the benefits of multi-sensor metrology from day one.
Mr Speller added: “A specialist from OGP was on site to support us for the training needs and did a bespoke training package for our exact requirements, and that allowed us to then further train another five people from the initial information that we got.“
“They looked at the output files that we needed to make the OGP machine talk to our Microsoft system that we use for recording data, and between the two companies we came up with a text file that imports the data from OGP directly into our own SPC system.“
“We’ve seen that initial spend come back in the first year because we’ve saved production time. We’ve proved that with OGP.”